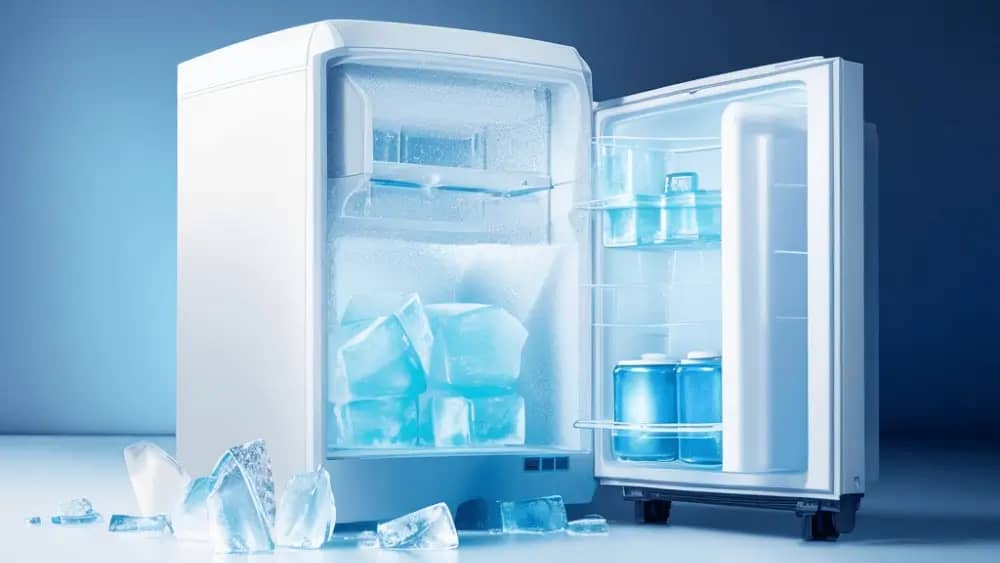
Do you own a mini fridge that’s struggling to keep your drinks and food cool? Ice build-up (or dirty condenser coils) is usually the culprit for a fridge or mini fridge that’s performing badly. When ice accumulates in your mini fridge, it can slow down its efficiency and can cause temperature fluctuations.
The good news is: defrosting your mini fridge is a simple task that can restore its functionality. In this blog post, we’ll guide you through the easy steps on how to defrost a mini fridge and remove stubborn ice. Let’s get started!
Step 1: Preparation
Before digging into the ice, you need to gather a few supplies. Here’s what you’ll need:
- Empty containers or a mini cooler: You’ll need somewhere to transfer your food and beverages while defrosting the mini fridge.
- Towels or absorbent cloths: These will come in handy to soak up the melted ice and prevent water from spreading.
- Warm water: Prepare a bucket or basin with warm water. Avoid using hot water, as it may damage the mini fridge’s interior.
Good to know: it is highly recommended to use a cooler for perishables, especially if your house is hot.
Step 2: Switch off and unplug
Unplug your mini fridge to avoid hurting yourself with the electricity that goes through it. Locate the power switch or unplug it directly from the power outlet. This step is crucial as it eliminates the risk of electric shock while you work on defrosting.
Step 3: Empty the contents
Clear out your mini fridge completely. Take out all the items stored inside, including food, beverages, and any removable shelves or compartments. If you have perishable items, consider transferring them to another refrigerator or using a cooler to keep them cool during the defrosting process.
Step 4: Defrosting your mini fridge
Now comes the main part: defrosting your mini fridge. Follow these steps to get the job done:
- Open the doors: Keep the fridge doors open to let warm air circulate and expedite the defrosting process. This will help melt the ice faster.
- Speed up defrosting: To speed up the defrosting process, you can place bowls of warm water inside the fridge. Close the doors and allow the steam to loosen the ice. Check periodically and replace the bowls if the water cools down.
- Remove ice manually: Once the ice starts melting, you can gently chip away at it with a plastic or wood spatula. Be cautious not to use sharp or metallic objects, as they could damage the mini fridge’s interior.
- Wipe away excess water: As the ice melts, it will turn into water. Use towels or absorbent cloths to soak up the water and prevent it from pooling inside the fridge.
Good to know: never use any sharp tools to break the ice as it can potentially damage your mini fridge. Practice caution and patience.
Step 5: Clean and dry
After defrosting, it’s essential to clean and dry the interior of your mini fridge to prevent mold growth. Follow these steps:
- Clean the interior: Use a mixture of mild soap and warm water to wipe down the walls, shelves, and compartments of your mini fridge. Pay attention to any stubborn stains or spills.
- Rinse and dry: Rinse off the soap residue with a damp cloth, then dry all surfaces thoroughly. Make sure there is no moisture left inside the fridge.
Step 6: Plug in and restart
Now that your mini fridge is free from ice and sparkling clean, it’s time to plug it back in and restart it. Connect the fridge to the power outlet, turn it on, and adjust the temperature settings as desired. Allow it some time to reach the optimal cooling temperature before restocking it with your food and beverages.
Conclusion: Defrosting your mini fridge doesn’t have to be a daunting task. By following these 6 simple steps, you can eliminate ice build-up and restore your fridge’s cooling efficiency. Remember to prioritize safety by turning off and unplugging the fridge before starting the defrosting process. With regular defrosting, you’ll maintain a reliable and long-lasting mini fridge that keeps your items cool and fresh.

With over 15 years of experience in the appliance industry, I am a passionate advocate for efficient and stylish mini fridges. I specialize in energy-saving models and compact living solutions. As a certified appliance repair technician, I have a deep understanding of mini fridge maintenance and troubleshooting.


10 thoughts on “How to Defrost a Mini Fridge”