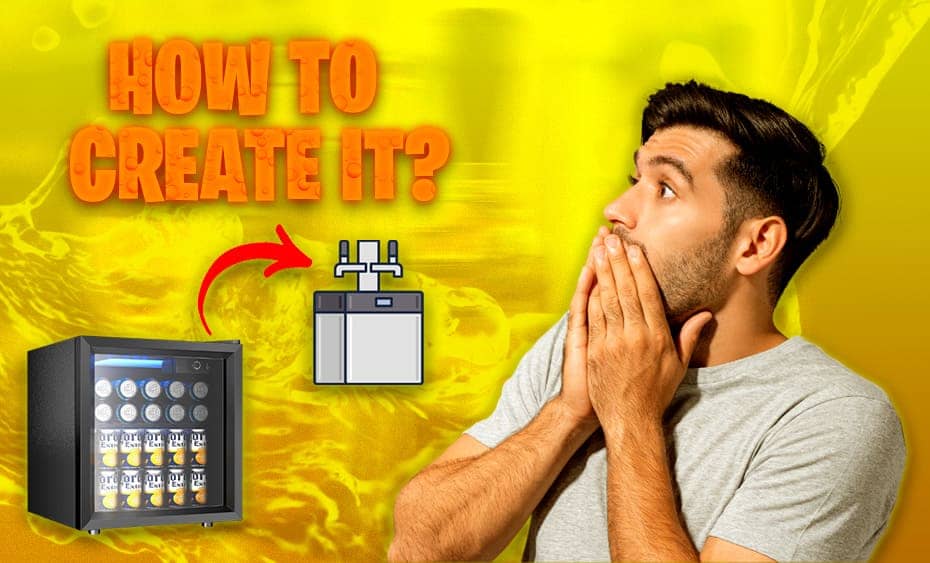
Ever yearn for the convenience and satisfaction of pouring yourself a perfectly chilled draft beer at home? While fancy pre-built kegerators can be pricey, the good news is you can create your own with the help of a mini fridge and a little DIY spirit. This step-by-step guide will equip you with everything you need to transform a mini fridge into your very own kegerator.
Your Step-by-Step Guide to Building a Dream Kegerator
Once you’ve chosen your mini fridge, it’s time to gather the essential components and get your hands dirty! Here’s a breakdown of the steps involved:
Materials:
- Mini fridge
- Keg system kit (includes keg coupler, CO2 tank regulator, tap, shank, hoses, and clamps)
- Drill with appropriate drill bit size (for tap line hole)
- Tape measure
- Pencil
- Level
- Utility knife (optional)
- Zip ties (optional)
Steps:
- Measure and Mark: Double-check the placement of your tap line hole marking. Consider factors like keg placement and ensuring the tap handle is easily accessible from the outside. Use a level to ensure the hole is drilled straight.
- Drill the Tap Line Hole: Using a drill with the appropriate size bit (consult your kegerator kit instructions for specific size recommendations), carefully drill a clean hole through the marked location on the back panel of the mini fridge.
- (Optional) Modify for Keg and CO2 Tank Placement: Depending on your chosen mini fridge and keg size, some modifications might be necessary. This could involve removing a shelf or rearranging internal components to create space for the keg and CO2 tank. Use a utility knife (with caution) to carefully cut any plastic obstructions if needed.
- (Optional) Secure Internal Components: While not always necessary, consider using zip ties or other secure methods to fasten the CO2 tank and potential loose components within the mini fridge for added stability during operation.
- Assemble the Keg System: Follow the detailed instructions provided with your kegerator kit to assemble the tap, shank, hoses, and coupler. This typically involves connecting the components and securing them with clamps.
- Connect the Keg System to the Fridge: Route the tap line (usually the longest hose) through the drilled hole in the back panel of the fridge. Ensure a good seal around the entry point. Connect the tap line to the keg coupler inside the fridge.
- Attach the CO2 Tank and Regulator: Place the CO2 tank securely within the mini fridge. Connect the CO2 regulator to the tank according to the manufacturer’s instructions.
- Attach the Tap to the Fridge Exterior: From the outside of the fridge, screw the tap onto the shank assembly that you previously installed through the drilled hole. Tighten securely.
- Test for Leaks: Before filling your keg, conduct a thorough leak test. Close the CO2 tank valve and connect the gas line to the keg coupler. With soapy water applied to the connections, slowly open the CO2 tank valve and observe for any bubbles. If bubbles appear, tighten the connections and retest.
- Fill Your Keg and Enjoy! Once you’ve confirmed a leak-free system, fill your keg with your favorite brew and connect it to the keg coupler. Adjust the CO2 pressure according to the specific beer type and desired carbonation level (consult your keg system kit instructions for guidance).
Want to see the conversion in action? Check out Jake’s killer video below, where he walks you through every step of transforming your mini fridge into a kegerator.
Safety Tips on Building a Kegerator With a Mini Fridge
Building your own kegerator from a mini fridge is a budget-friendly way to enjoy draft beer at home, but safety should always be the first ingredient! Before you grab your tools and get started, let’s go over some essential safety tips to ensure your DIY kegerator creation goes smoothly and you can enjoy fresh, frosty pints with complete peace of mind.
1. Power and Electricity:
- Always unplug your mini fridge before starting any modifications or installations. This will prevent the risk of electrical shock.
- Inspect the power cord for any damage. Never use a frayed or damaged cord, as it could pose a fire hazard.
- Consult a qualified electrician if you’re unsure about any electrical wiring involved in the kegerator conversion. They can ensure everything is safe and up to code.
2. CO2 Pressure:
- Use only CO2 tanks specifically designed for kegerators. Do not attempt to use other types of gas tanks, as they can be dangerous.
- Follow the manufacturer’s instructions for handling and using the CO2 tank. This includes proper storage and connection procedures.
- Never exceed the recommended CO2 pressure for your kegerator system. Too much pressure can damage the equipment or cause it to explode.
3. Sanitation:
- Clean and sanitize all kegerator components before use to prevent bacterial growth. This includes the keg coupler, tap lines, and keg itself.
- Use a proper sanitizing solution designed for kegerator systems. Household cleaners are not safe for this purpose.
By following these safety tips, you can minimize the risks involved in building your own kegerator and enjoy a fresh draft beer with peace of mind.

With over 15 years of experience in the appliance industry, I am a passionate advocate for efficient and stylish mini fridges. I specialize in energy-saving models and compact living solutions. As a certified appliance repair technician, I have a deep understanding of mini fridge maintenance and troubleshooting.


1 thought on “How to Build a Kegerator With a Mini Fridge”